
Hey there, fellow farmers and landowners! If you're like me, you know how important it is to have a solid perimeter fence around your farm. It keeps your livestock in, unwanted critters out, and adds an extra layer of security. And one crucial part of that perimeter fence is the gate. In this blog post, I'm gonna share with you how to install a gate in a farm perimeter fence. As a Farm Perimeter Fence supplier, I've seen it all and done it all, so I'm here to give you some practical tips and tricks.
Step 1: Planning and Preparation
Before you start digging holes and hanging gates, you need to do some planning. First, decide where you want to place your gate. Consider factors like traffic flow, access to different parts of your farm, and the layout of your existing fence. You want to make sure the gate is in a convenient location that makes sense for your daily operations.
Next, measure the opening for the gate. You'll need to know the width and height to ensure you get the right size gate. It's also a good idea to measure the distance between the fence posts where the gate will be installed. This will help you determine the proper hinge placement.
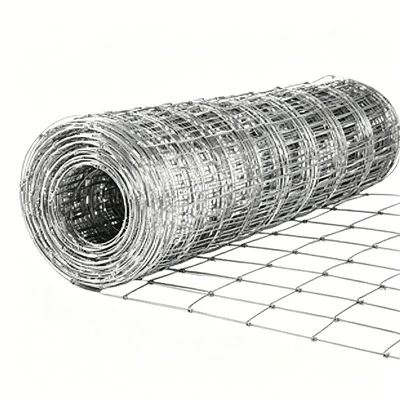
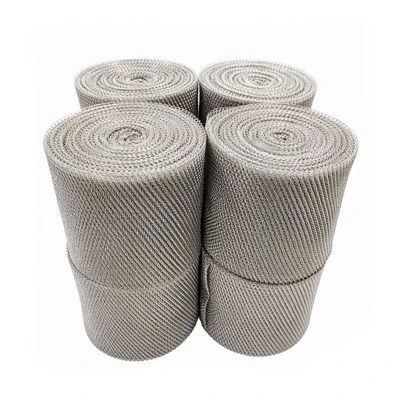
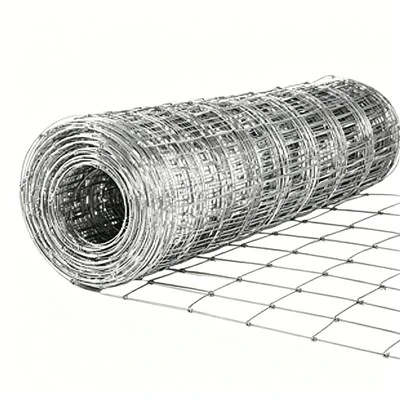
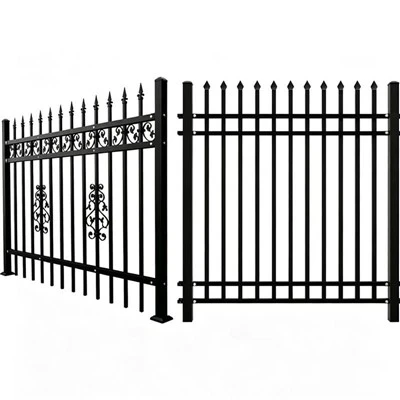
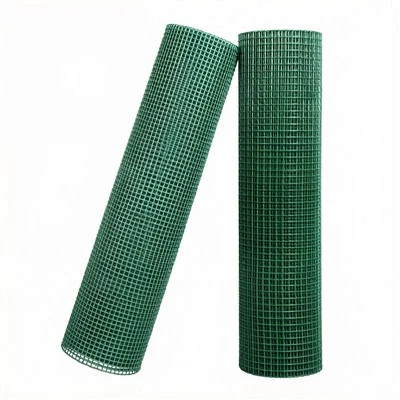
Once you have your measurements, it's time to choose the right gate for your farm. There are several types of gates available, including metal, wood, and PVC. Each type has its own advantages and disadvantages, so it's important to choose one that suits your needs and budget. As a supplier, I can recommend some great options like Metal Field Fencing, PVC Coated Welded Mesh Fence, and Plastic Coated Welded Wire Mesh. These are all durable and long-lasting options that will work well in a farm setting.
Step 2: Gathering Materials and Tools
Now that you have your plan and your gate, it's time to gather the materials and tools you'll need for the installation. Here's a list of the basic materials you'll need:
- Gate
- Hinges
- Latch
- Concrete (if using post holes)
- Gravel (for drainage)
- Post digger or auger
- Level
- Measuring tape
- Saw
- Drill
- Wrench
Make sure you have all the materials and tools on hand before you start the installation. This will save you time and frustration later on.
Step 3: Installing the Gate Posts
The first step in installing the gate is to install the gate posts. These are the posts that will support the gate and keep it in place. Here's how to do it:
- Mark the locations for the gate posts using stakes and string. Make sure the posts are level and plumb.
- Dig the post holes using a post digger or auger. The holes should be at least 2 feet deep and wide enough to accommodate the posts.
- Place the posts in the holes and fill them with gravel for drainage. Then, pour concrete into the holes and use a level to make sure the posts are straight.
- Let the concrete dry for at least 24 hours before proceeding.
Step 4: Hanging the Gate
Once the gate posts are installed and the concrete is dry, it's time to hang the gate. Here's how to do it:

- Attach the hinges to the gate using a drill and screws. Make sure the hinges are evenly spaced and level.
- Lift the gate onto the gate posts and align the hinges with the post. Use a level to make sure the gate is straight.
- Attach the hinges to the gate posts using a drill and screws. Make sure the screws are tight and secure.
- Test the gate to make sure it opens and closes smoothly. If it doesn't, adjust the hinges as needed.
Step 5: Installing the Latch
The final step in installing the gate is to install the latch. The latch is what will keep the gate closed and secure. Here's how to do it:
- Choose a latch that is suitable for your gate and your needs. There are several types of latches available, including spring latches, slide latches, and bolt latches.
- Attach the latch to the gate using a drill and screws. Make sure the latch is level and aligned with the strike plate on the gate post.
- Test the latch to make sure it works properly. If it doesn't, adjust the latch as needed.
Step 6: Finishing Touches
Once the gate is installed and the latch is working properly, it's time to add some finishing touches. Here are some ideas:
- Paint or stain the gate to protect it from the elements and give it a nice appearance.
- Add a decorative element to the gate, such as a sign or a wreath.
- Install a gate opener if you want to make it easier to open and close the gate.
Conclusion
Installing a gate in a farm perimeter fence is a relatively simple process that can be done by anyone with a little bit of DIY skills. By following these steps and using the right materials and tools, you can install a gate that will last for years and provide you with the security and convenience you need.
If you have any questions or need help choosing the right gate or materials for your farm, don't hesitate to contact us. As a Farm Perimeter Fence supplier, we're here to help you every step of the way. We offer a wide range of products, including Metal Field Fencing, PVC Coated Welded Mesh Fence, Plastic Coated Welded Wire Mesh, Composite Reinforced Geomat, and Site Perimeter Fencing. Contact us today to learn more about our products and services and to get a free quote.
References
- "Farm Fencing: A Guide to Planning and Installation." USDA Natural Resources Conservation Service.
- "How to Install a Gate." This Old House.
- "Gate Installation Tips and Tricks." Family Handyman.